
The How-To series will guide you through some simple do-it-yourself tasks.
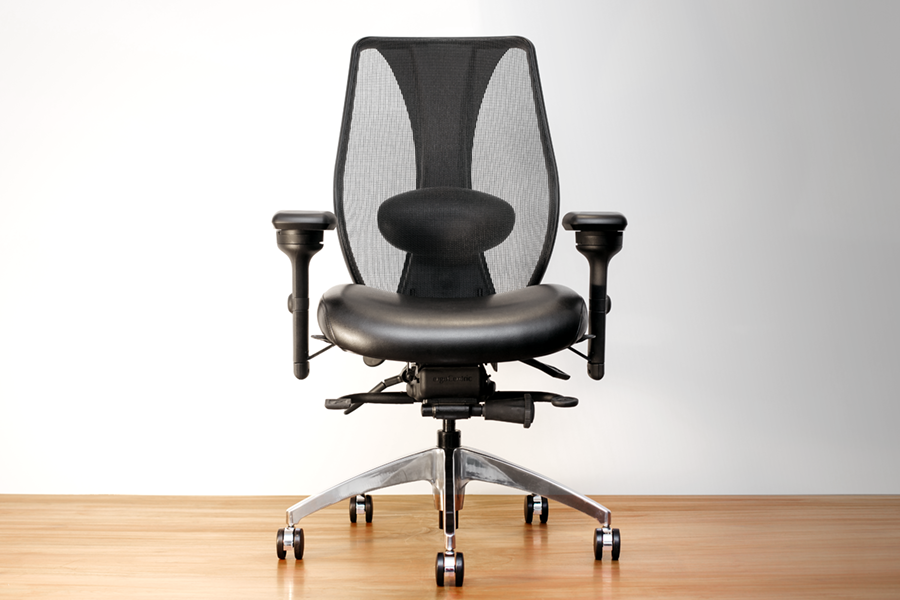
There are a number of reasons why you might need to change the armrests on your chair. The user or task of the chair may change and require different levels of support (Extra height, width adjustment, pivoting arm pads, etc.), a new user may have different preferences, or the armrests may simply be worn out/damaged. Whatever the case, changing the armrests on your ergoCentric chair is simple, and this short How-To will guide you along the way.
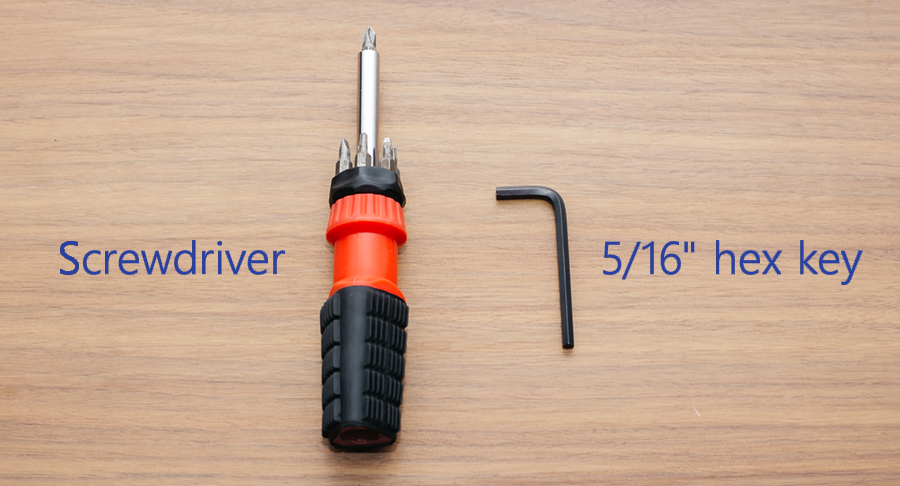
Tools you’ll need:
- 5/16″ Hex Key (Found under the seat of your ergoCentric chair)
- A #3 Phillips Screwdriver (If the width plates need replacing – See Step 4)
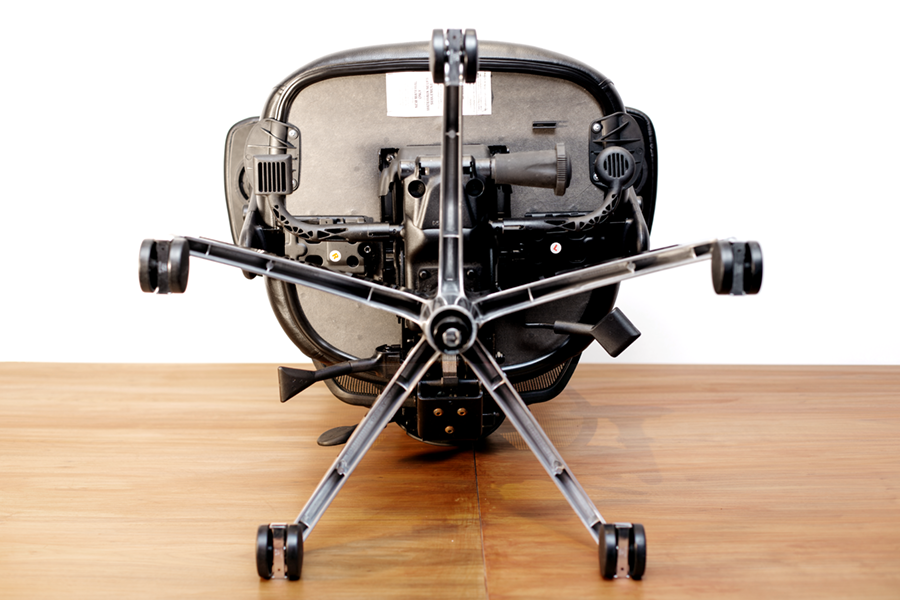
Step 1:
Find a table or surface that is strong enough to hold your chair. If you do not have a suitable surface, use the floor. Place your chair so that it’s resting on its back.
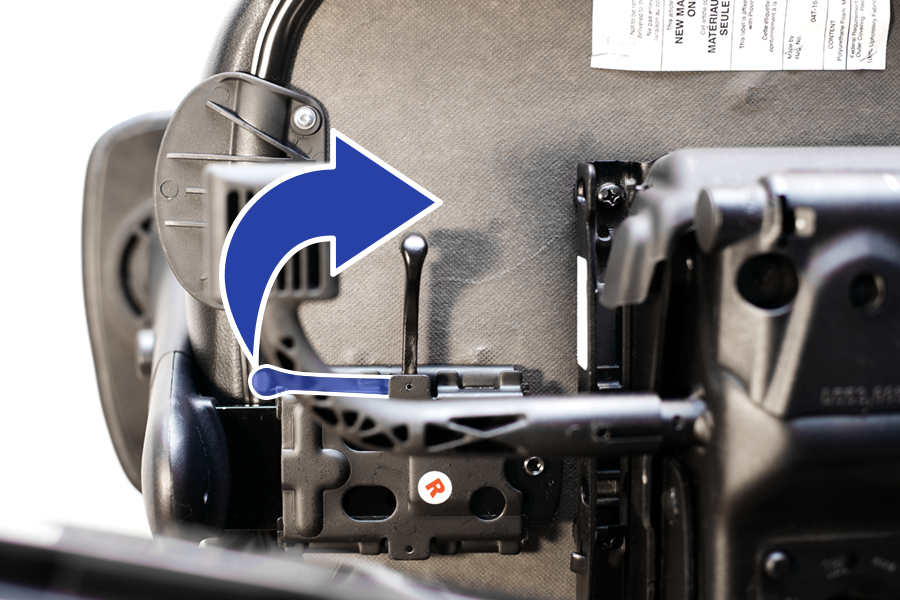
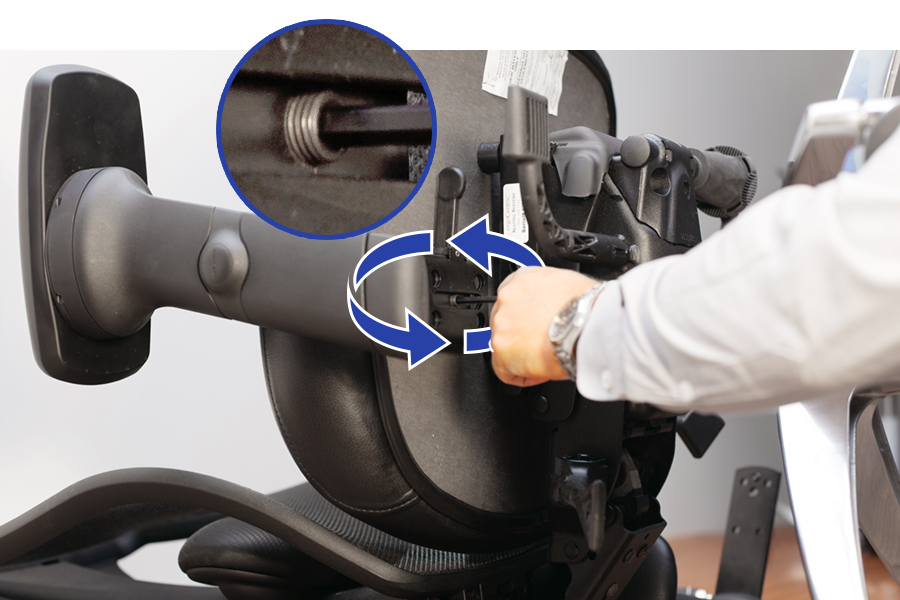
Step 2:
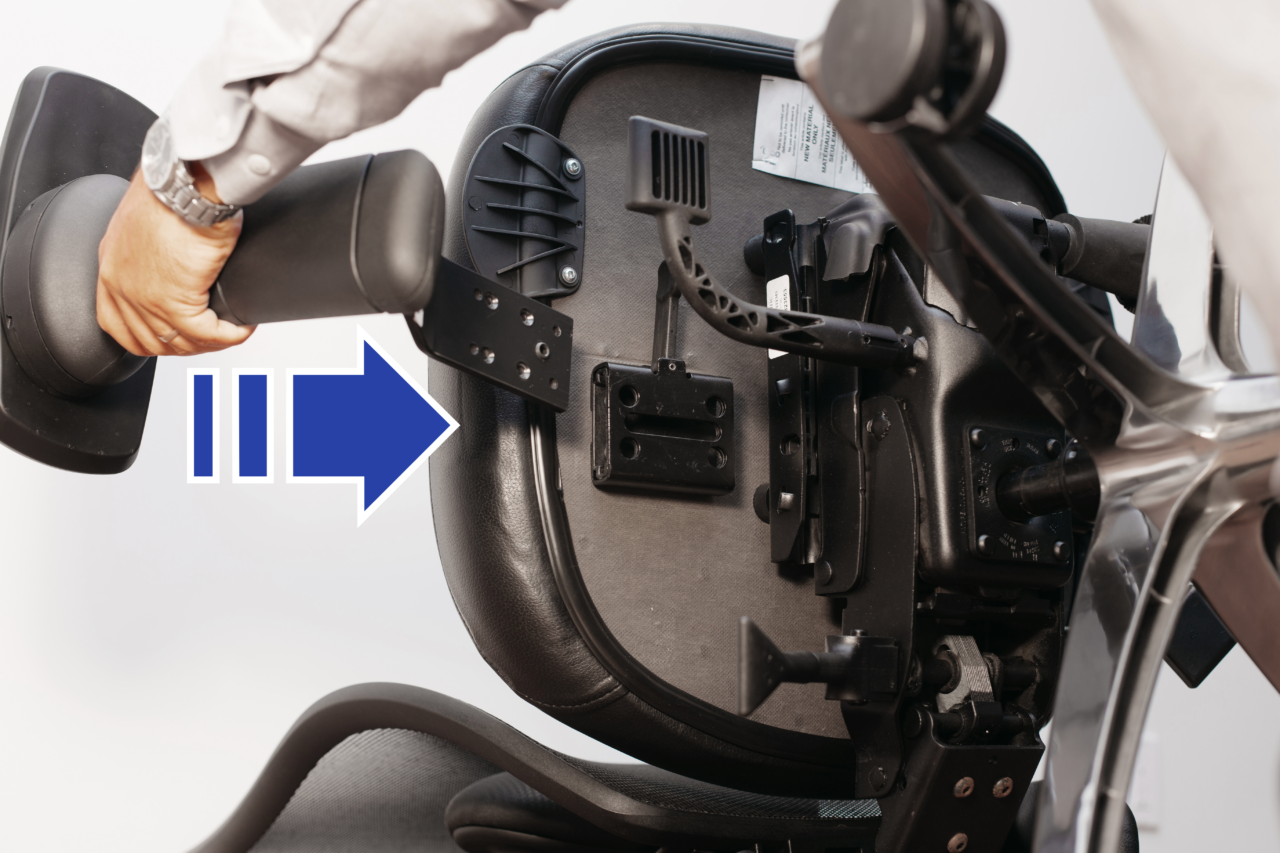
Unlock the arm width adjustment lever, enabling the arms to move freely from side to side. Take note of the bolt that restricts the arm from being pulled out of the width plate.
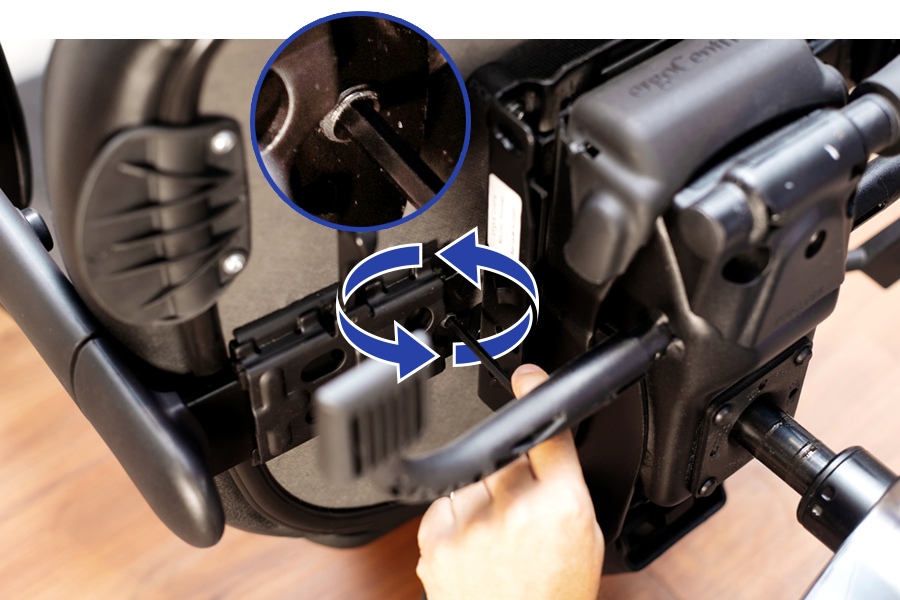
Step 3:
Remove the hex key from the underside of your ergoCentric seat. Using the hex key, turn the bolt counter-clockwise until the bolt is removed. This will allow you to slide the arm out of the width plate.
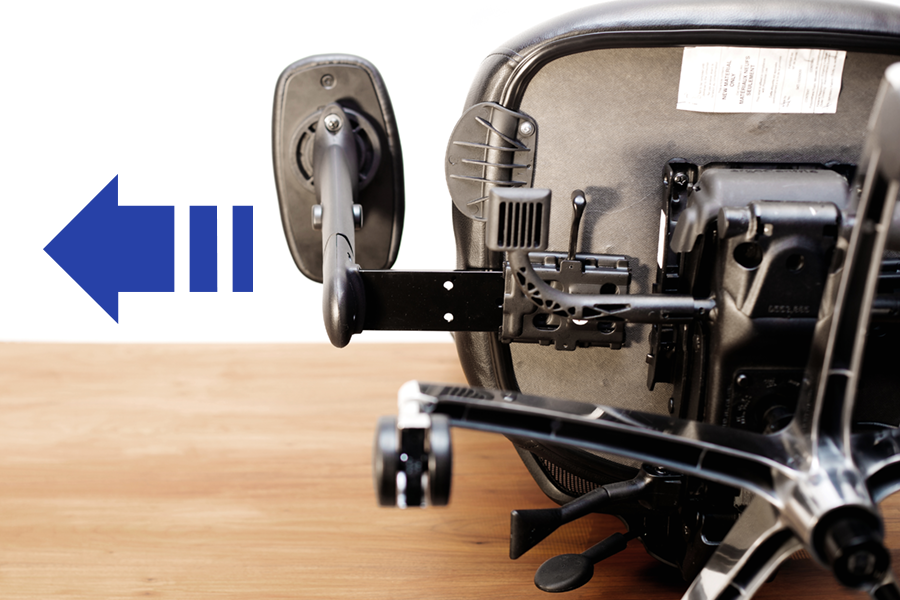
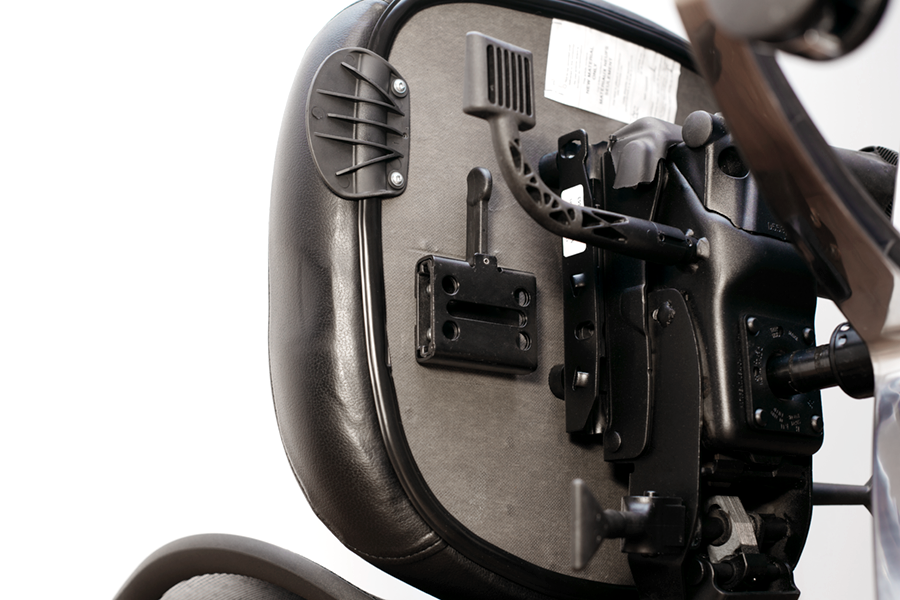
Step 4:
With the arm removed, check what width plate you have.
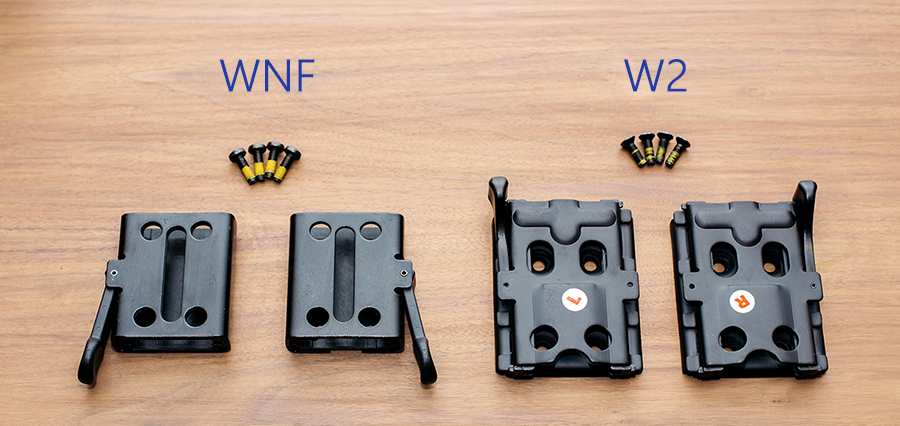
- If you have the WNF width plate, continue to Step 5.
- If you have the W2 width plate and you are switching to a tCentric Armrest (TC, TCL, TC360, TCL360), you will need to swap out the W2 width plate for the WNF width plate. Follow steps 4a, 4b and 4c below:
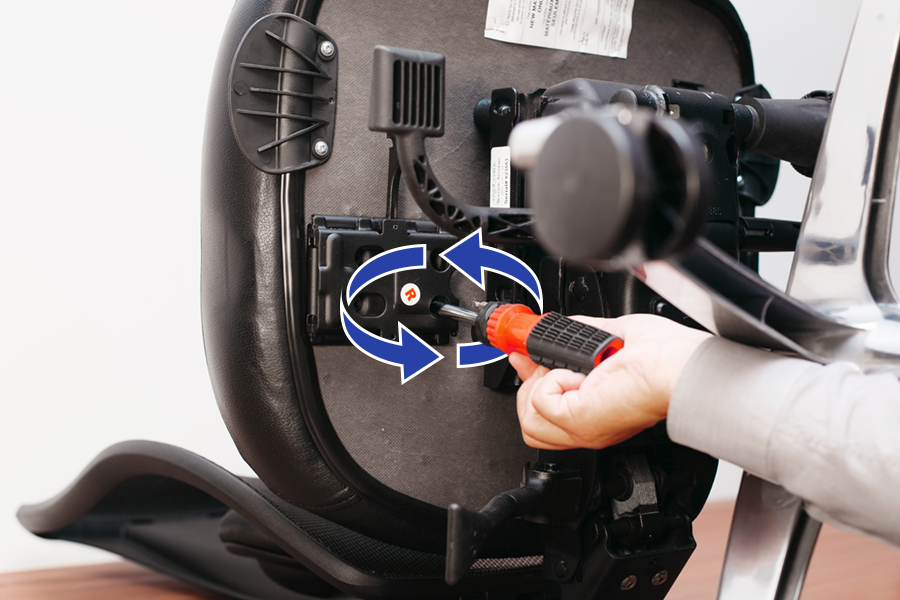
Step 4a:
Using the screwdriver, unscrew the bolts that hold the width plate in by turning them counter-clockwise.
Step 4b:
Place the new width plate where the old width plate was, so that the holes in the width plate are lined up with the holes in the seat.
Step 4c:
Using the screwdriver, screw the bolts in by turning them clockwise, until the new width plate is securely held in place.
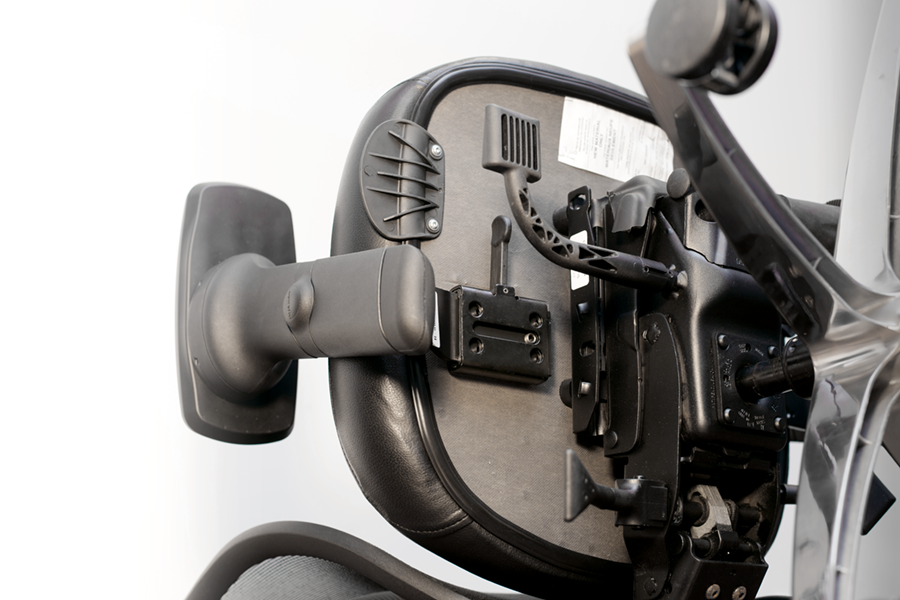
Step 5:
The new arm should come with the bolt already screwed in. Insert the arm all the way into the new width plate.
- If the bolt restricts the arm’s ability to slide into the width plate, use the hex key to turn the bolt clockwise until the arm can slide into the width plate.
- If the bolt is not already in the new arm, insert the bolt into the new arm. Using the hex key, turn the bolt clockwise until the arm can slide into the width plate.

Step 6:
With the arm in the width plate, use the hex key to turn the bolt counter-clockwise. This will pull the bolt farther out of the arm. The bolt should be as far in as it can be while simultaneously restricting the arm from being removed from the width plate, when sliding the arm from side to side. Once this step is completed, the bolt should stop the arm from being removed from the width plate.
Step 7:
Your new arm is now installed! Be sure to lock the width adjustment lever before flipping your chair right side up, so that the arms do not slide while you flip the chair.